I decided to start by painting the firewall. My thinking was that if I tried to paint it at the same time as the rest of the car, I would be spending a lot of time crawling over into the engine compartment. The view below is from shortly after the car arrived. You can see the maroon showing through the black. Just below the master cylinder on the right side, you can see where the paint has been eaten away by brake fluid, and is now rusted. Also in the very center you can see where it looks like someone beat on it with a sledge hammer.

In this picture the brake master cylinder and the windshield wiper motor have been removed, as well as the accelerator bracket. The rusted area below where the master cylinder goes has been worked over with a wire wheel on an electric drill. It will also get treated with phosphoric acid. The area in the middle where someone whacked it with a hammer has been ground down. I will put a thin coat of Bondo on it to hide the dents. Also, if you notice, the black is gone. That took a LOT of elbow grease with some acetone and an old rag. After that it was water sanded with fine sandpaper to feather edge the imperfections.

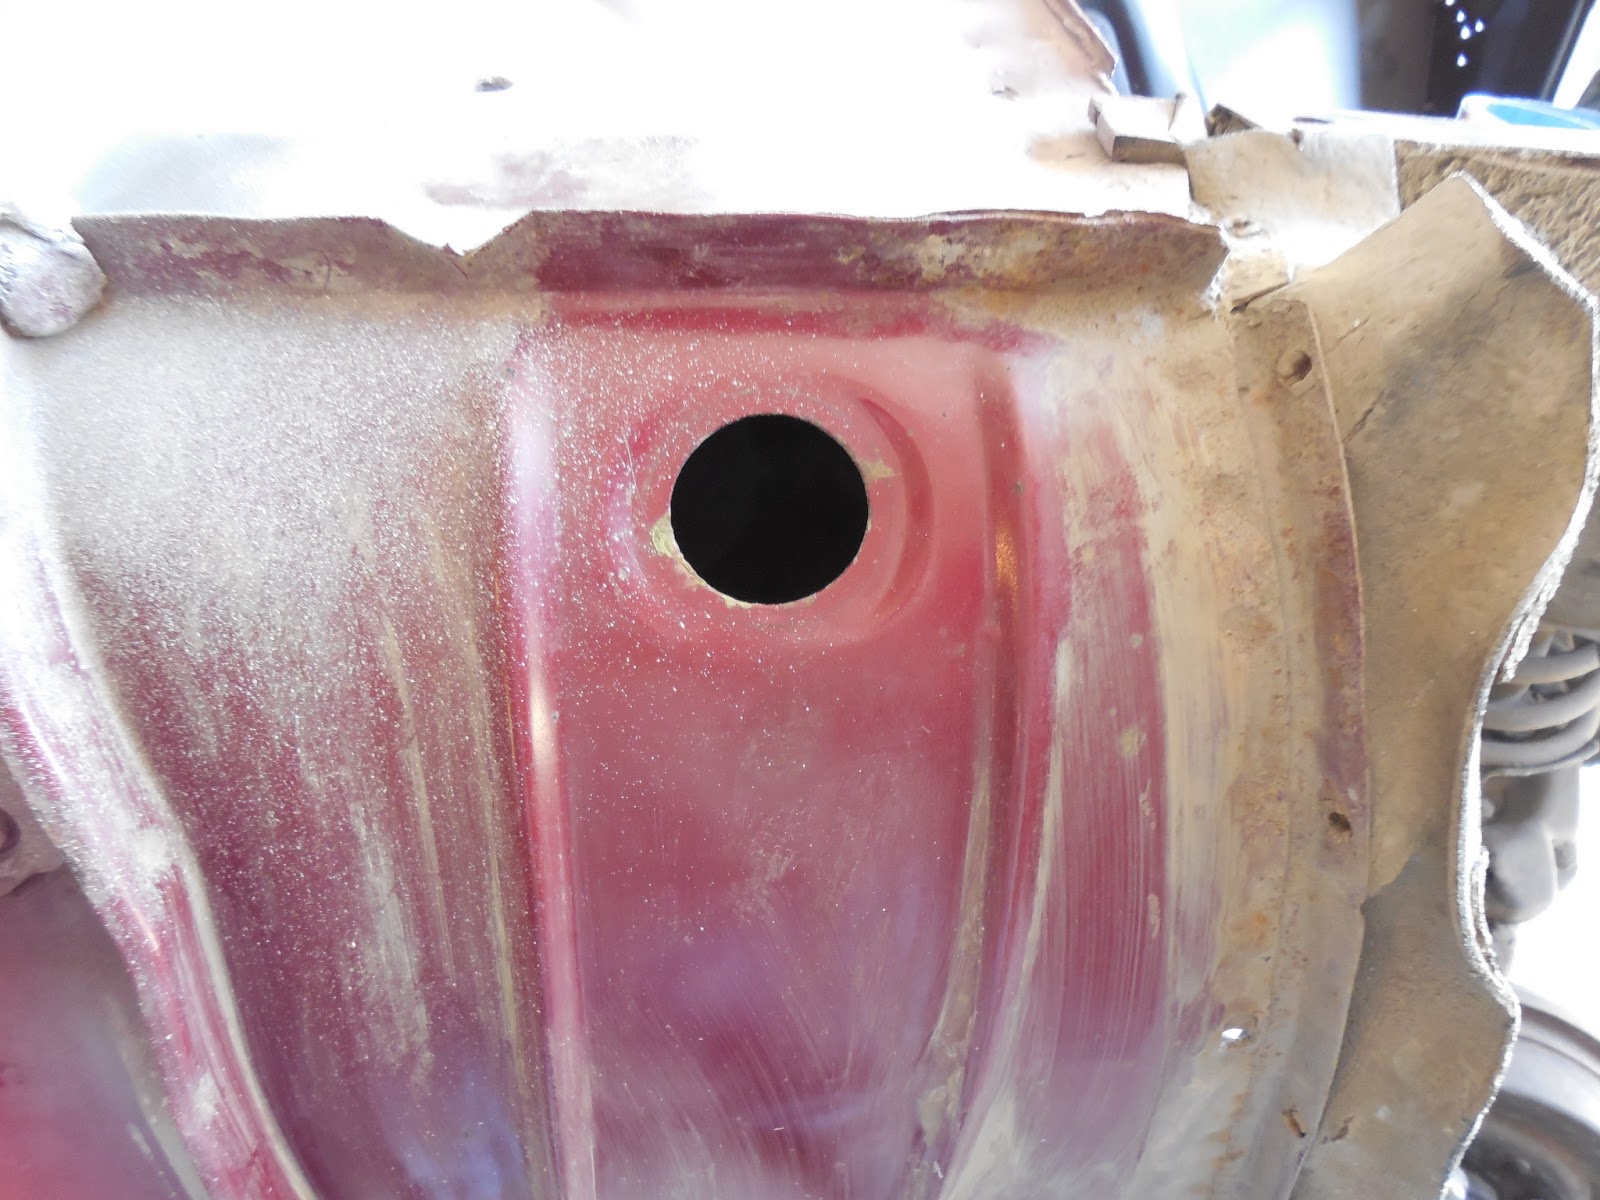
In this view you can really see the pitted areas around and below where the master cylinder goes. It is the opening that looks like a giant keyhole. The square hole just to the right of it is where the wiring harness comes through.

Here you can see everything is masked off. The area in the middle has been smoothed over with Bondo. All the rough edges have been sanded to a feather edge and the whole thing is ready for primer.

I didn't ask for white, but that is the color of the primer they gave me at the paint store. This is a two part catalyzed epoxy primer. It dries extremely hard, and provides a very tough chemical resistant base for the paint to stick to. It also fills in and hides scratches and minor imperfections very well. Now it is time for more water sanding. The advantage to water sanding verses dry sanding is that the water constantly washes the sandpaper of the tiny paint particles that are sanded off. This keeps the sandpaper from clogging, which makes the sanding go faster. Unfortunately, this epoxy primer is so tough and hard that it wears out sandpaper very fast.

Here is the freshly painted firewall. This paint is a what is called a two stage process. The first stage is applying the paint, which dries to a very dull flat finish. Then, after the paint dries for awhile, a coat of clear is applied. This is what provides the high gloss and also the resistance to weather, chemicals, and UV rays.

With the firewall looking good, I turned my attention to the exterior panels. The key to any good paint job is not so much in the way the paint is applied, but the surface prep before the paint goes on. First you need to make sure the panels are straight, aligned where they are supposed to be, and smooth. Even with putting brand new quarter panels on I found a couple of little areas that were slightly dished in. They would have shown up as a dent in a finished paint job.
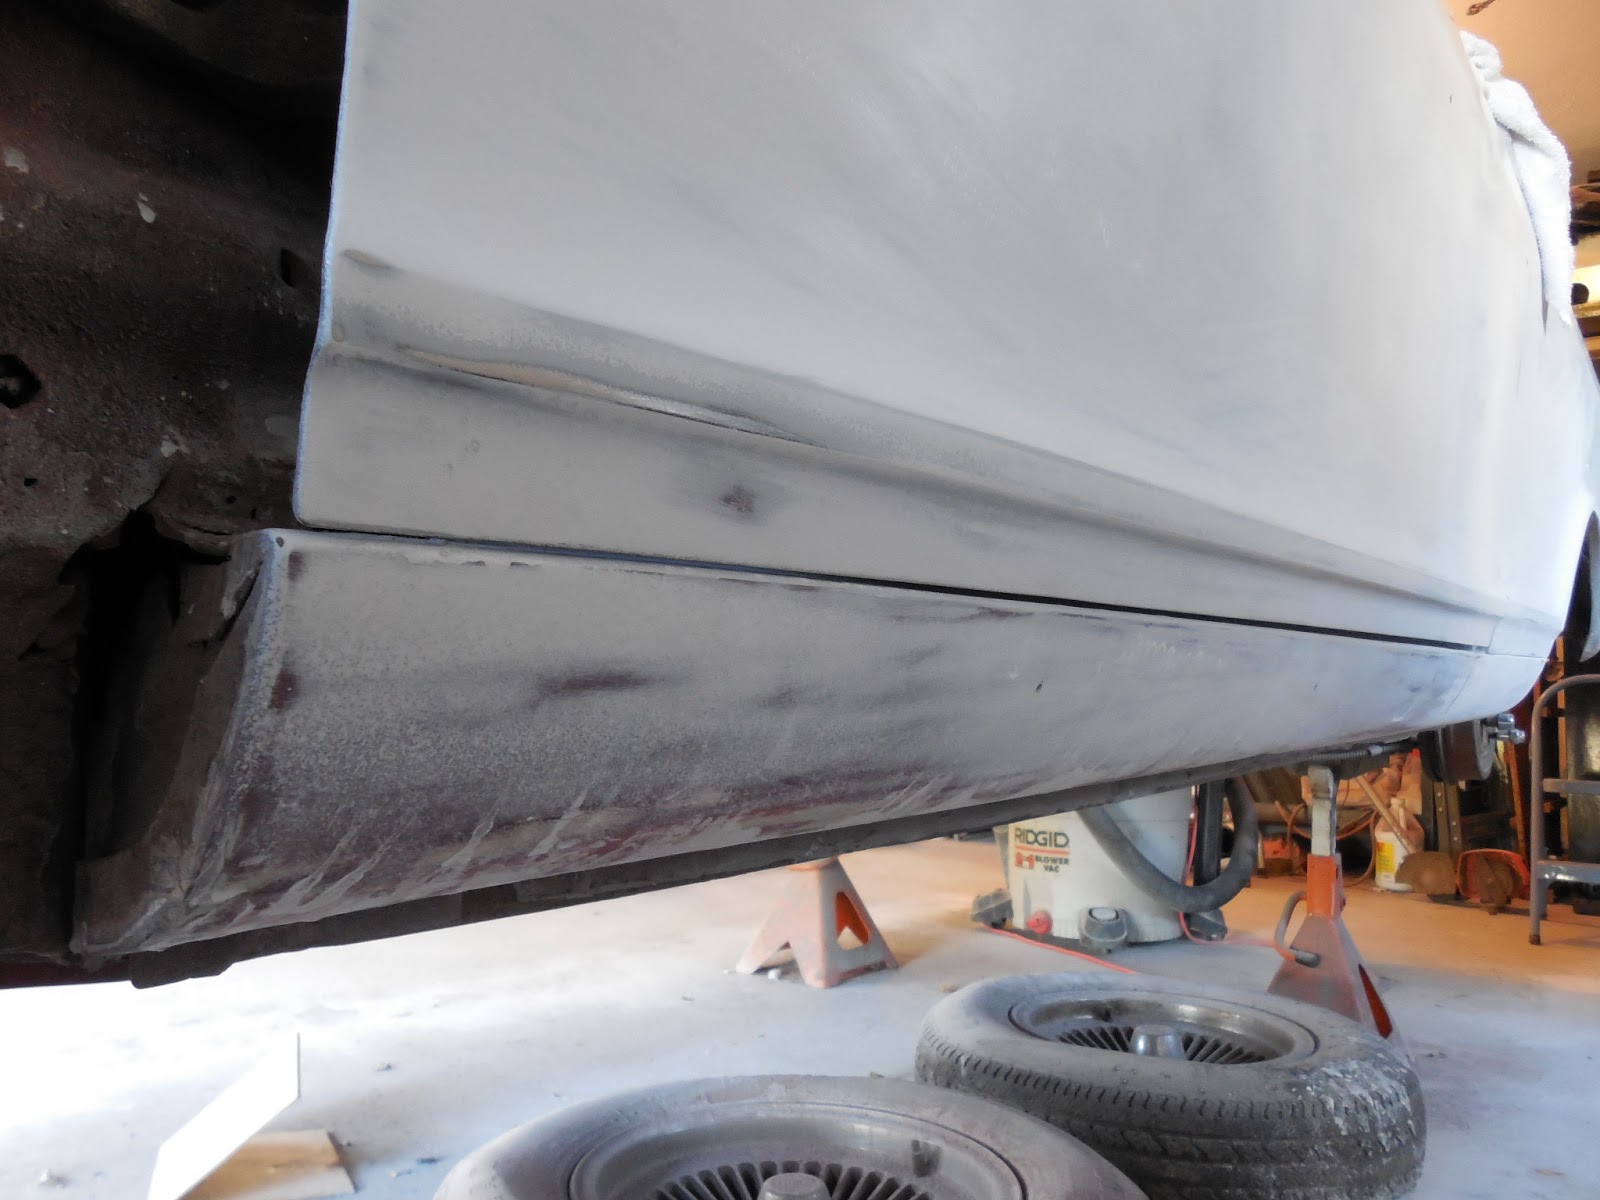
Here I am water sanding, or actually water blocking, the right quarter panel and door. A production shop would use an air sander to smooth the primer down. But it will leave waves in the primer that will show up after painting. By using a rubber block with waterproof sandpaper, and using long smooth strokes, you get a smooth finish. The rubber block knocks down any high spots and shows any low spots. That is how I found the dished in areas I mentioned.


As you can see, it makes quite a mess. But it gets the surface very smooth. My wife said it was smoother than a baby's butt. It is also very hard work.

While sanding the left side I noticed the door wasn't quite perfectly aligned. The rear edge looked good, but the bottom edge was almost touching the rocker panel at the forward end.

In this shot I have put small pieces of tape where I need to spray a little more primer. Near the lower right of the picture you can see where the rubber block shows a low spot. It is a darker area with a smaller light spot in the middle right where the tape is. A double wet coat of primer and more rubber blocking will fill this in so it will look straight when it gets painted.
While waiting for primer to dry is always a good time to take care of the dozens of little things that need to be done before the car is finished. On the right side of the cowl the plastic plug was missing for a hole the factory felt was necessary.

Here is the plug on the left side. You can also see the smaller holes where the retainers are missing that hold the splash guard in place. This keeps mud from splashing under the fender into the door hinge area. The parts store had the small retainers to hold the splash guard in place, but not the hole plug for the other side.

My solution was speed tape. That is what it is called in the aviation industry. They use it to temporarily patch holes in aluminum airplanes. It is basically just heavy aluminum foil with glue on one side.
To go to next page, click here.
Thank you for sharing great information about Painting The Firewall. Mask your car door, hood, or trunk fast & easily by tube tape Automotive Masking Solution.
ReplyDeleteMask your car door, hood gaps on trucks or cars, mask the a pillar fast & easily by tube tape. You can SAVE up to 30 minutes of masking time per car.
ReplyDeleteAutomotive Aperture Tape mask your car door, hood gaps on trucks or cars fast & easily by tube tape. You can SAVE up to 30 minutes of masking time per car.
ReplyDelete