When
the right quarter panel was peeled away, it was obvious there would be every
bit as much work getting the car ready for the new panel as there had been on
the left side. In this series of three
pictures, starting from the rear working forward, you can see how rusted out
the car was.

The trunk floor extension was severely rusted. Even with gas
welding, the old part was just too rusted to patch up.
In this close up view
of the right outer wheel housing you can see the rust and holes from a previous
repair. The lip that is folded under, out of sight in this view, was rusted so
badly there was no way to weld the quarter panel on.


This shot was taken
of a rusted out area after I had cut away the rust. Where you see the three holes in a row is
just above where I cut. This is a
critical brace that the front edge of the quarter panel welds to. It would have to be reinforced.
The three holes are for rosette welds to a small brace that had to be fabricated.
A
new trunk floor extension was not to be found anywhere. So I started the process of fabricating a new
one out of the sheet metal from the old quarter panel. Here I have temporarily screwed a piece of
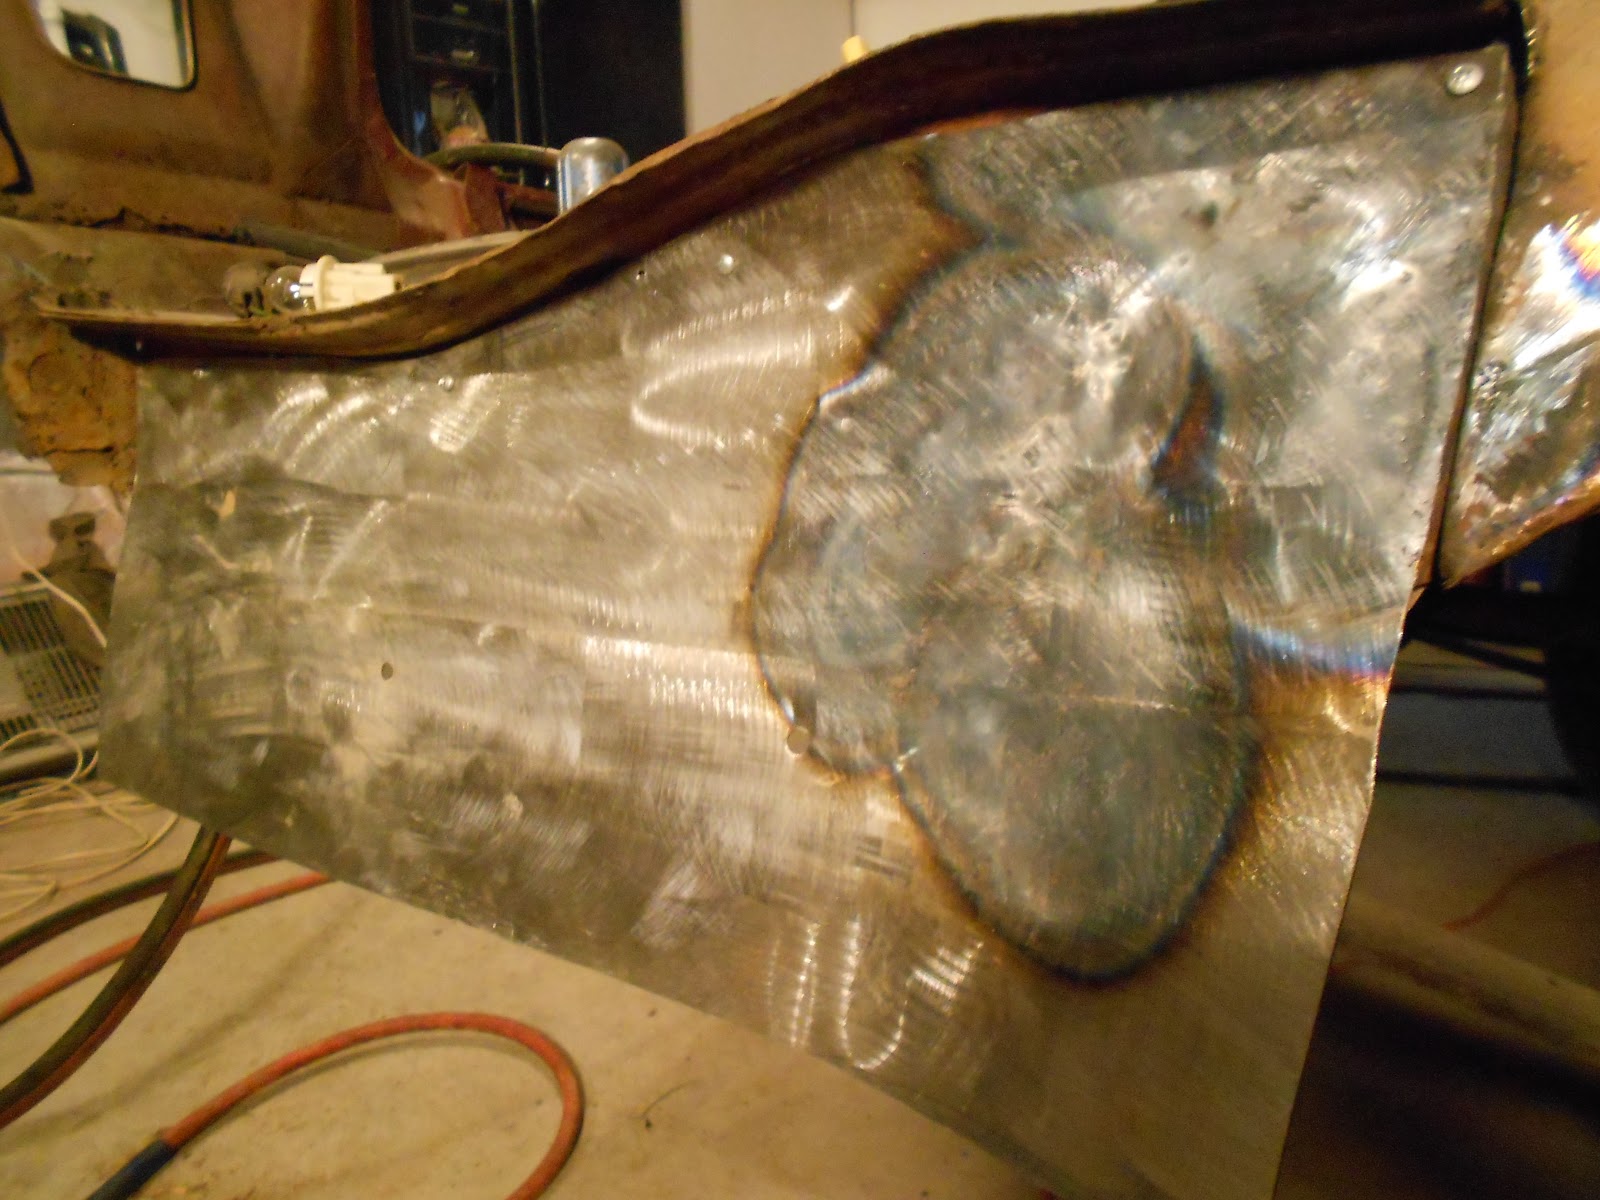
metal on. Toward the forward end there
was a compound curve. Since I don’t have
an English wheel, I heated it up with the acetylene torch (darkened area) and pounded on it
with a hammer, several hammers in fact.
I started with a large ball peen and ended up using a light body hammer.
With the proper curves persuaded into the metal, I hung the new quarter panel on and drew a line onto the piece of metal where the lower rear edge of the new panel came. Then, with the piece of metal off of the car, I bent an almost ninety degree bend along the bottom edge. This was so it would mate up with a similar bend on the quarter panel where they would be welded together.

You
can see where I have put the ninety degree bend. I also once again fitted the quarter panel to
draw a line where this part will be trimmed off. Also shown is the small filler piece that had to be fabricated.

Here the newly fabricated
trunk floor extension is seen welded into place along with the small filler
panel at the rear.
In this close up view of the right outer wheel housing, you can see sections along the edge where the metal is completely rusted away.


Once again, the metal from the old quarter panel was put to good use. This time I made a long piece with a 90 degree bend, like a piece of angle iron. Then I cut slits on both sides of the bend. This way it can conform to the curve of the wheel opening.
You can't see it here, but there is a lip protruding inward that the quarter panel welds to.

Here it is with the welding done. You have to make the "fingers" long enough to reach good weldable metal.

This was behind the lower front edge of the quarter panel. The rocker panel can be seen in the lower portion of the picture.
I trimmed it back to where the metal was not rusted and drilled three holes to weld through. I would put a patch with a 90 degree bend in behind the original piece.

In this close up view you can see the round rosette welds. Since this area is covered by the quarter panel, no need to grind them down.

The area where the quarter panel wraps around and becomes the door jamb was rusted pretty badly. Rather than cut this out to replace it, I just wrapped it in new metal. This way I could use the old structure to form the new one over.

This was done by welding one edge of a sheet into place then by heating it with a torch and hammering into the shape of the old part beneath it. Once it was formed, the remaining edges were trimmed and welded. It is a little rough, but a thin coat of body filler and some sanding will make it look like new.
There was an area of rust inside the area where the convertible top folds into. In this view, taken from inside looking out, you can see the top of the right wheel housing. To the right you are looking into the trunk area. There was just a tiny little spot where the rust had eaten through the metal. But there was also a larger area where the metal was deeply pitted. I ground all the rust off, cut out a metal patch, and welded it in, bending it to fit the curve as I went.

Here is a slightly blury view of the area after the patch has been welded in.

After the welds are ground down a bit, the area gets painted with self etching primer. Then it will get a coat of epoxy primer and finally painted with color.

Another area that needed attention was the forward part of the right wheel well. Here it is seen from the inside looking out.
The round hole is obviously supposed to be there, probably had a rubber plug at one time.

Here is what was left after grinding the rust away.
Here it is with a patch welded in. A little grinding, a little seam sealer and it will be ready to undercoat.

To go to the next page, click here .
No comments:
Post a Comment