In the picture below is a good view of the panel called a trunk floor extension. At least that is what they called it in the parts catalog. They had this part for the later model Novas, but not this vintage. So the only thing that could be done was to weld a piece onto the lower part that had rusted out. If you look closely along the bottom edge, you can see where I had to bend it to mate up with the lower edge of the quarter panel.


At the back end was another small piece that was rusted badly. I had to notch one edge of the L shaped edge in order to curve it to shape. This was all gas welded because of the rust.

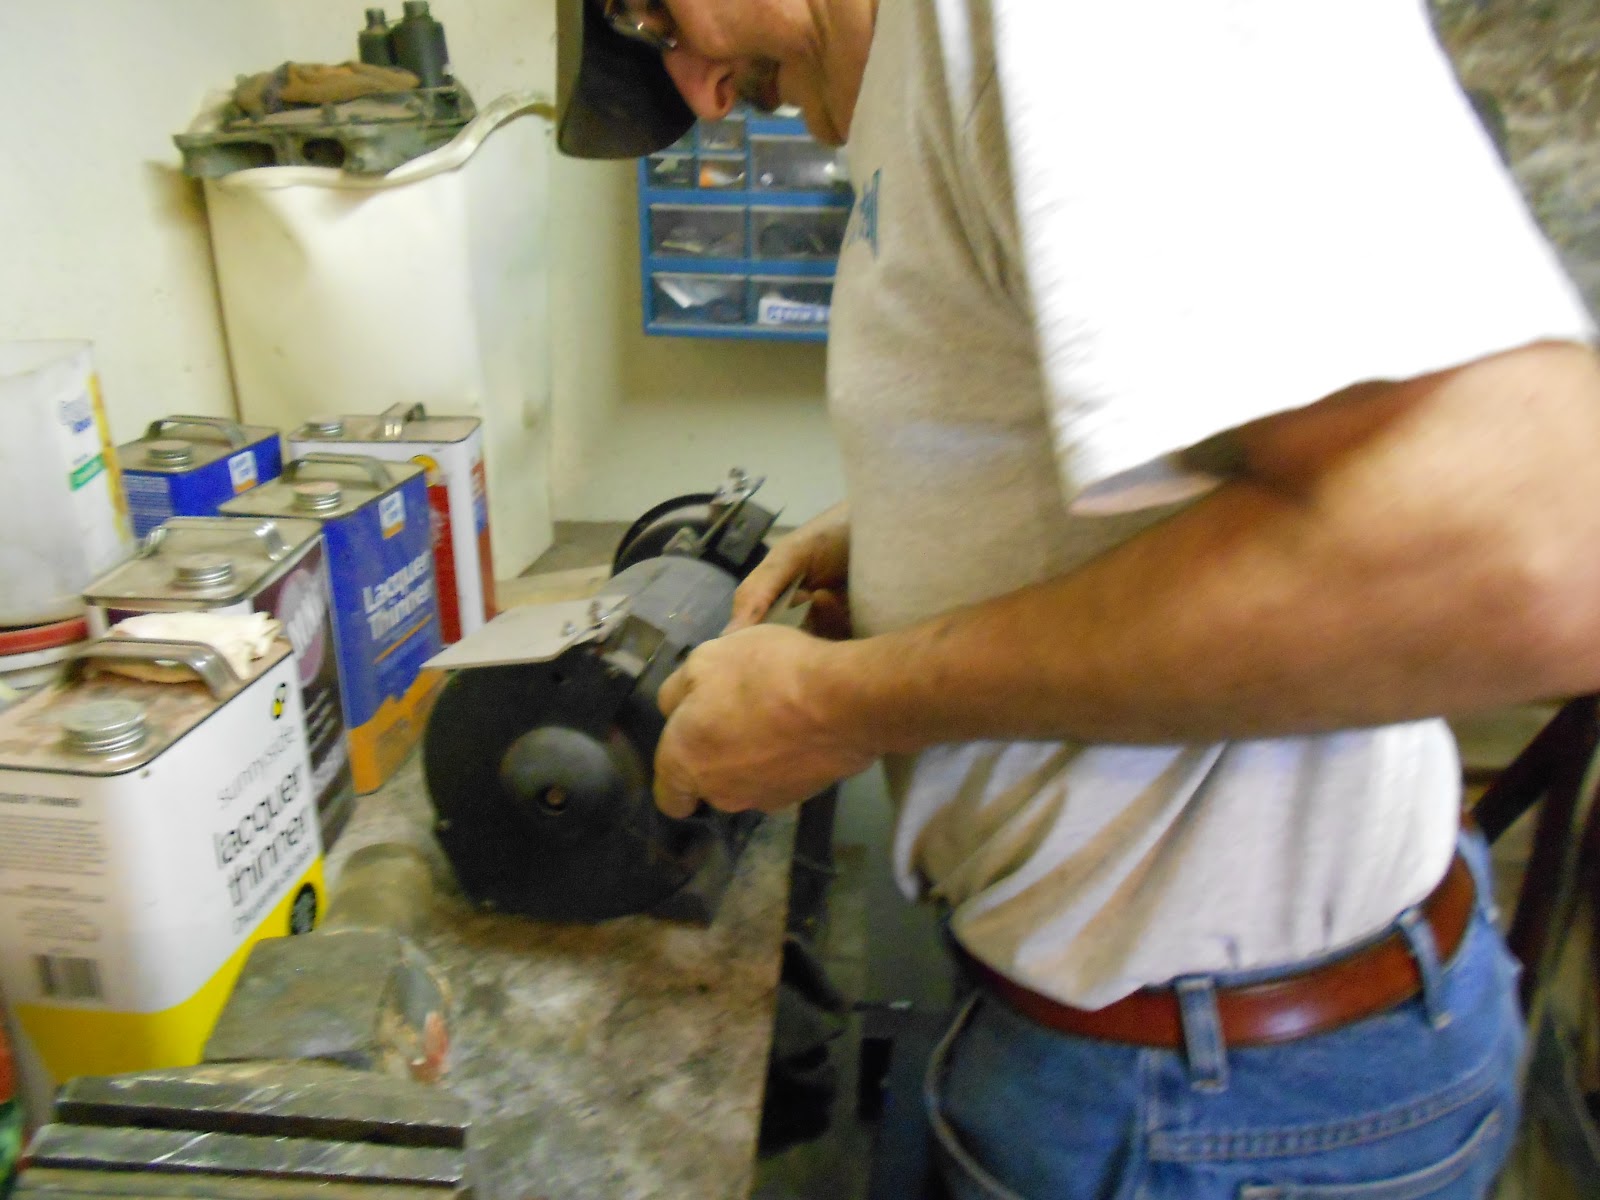
The rust was polished off with a wire wheel on an electric drill. After this I brushed on phosphoric acid. This converts iron oxide, which is rust, into iron phosphate.

Here it is after painting with self etching primer, which has more phosphoric acid.
All that is left to do here is put sealer along the seam and paint it.
The back side of this panel will get undercoating.
Another detail that would need attention before the quarter panel could be installed was up under the left wheel well, just in front of the left rear tire. A small piece of sheet metal that covers the aft end of the rocker panel was completely rusted away. The rocker panel is the long part of a car you see that runs along the bottom sides, just under the door. It is the door sill when you open the door. With the aft end of it open, it would fill up with dirt and moisture, and eventually rust out.

Here I am tracing the outline of a replacement patch panel.

Here I am transferring the paper outline onto sheet metal.
After cutting the shape out of the sheet metal, I had to fine tune it on the grinder.

Here is the new piece clamped into place. I have ground the surface behind it clean, so that I can use my MIG welder. It is much faster and easier than gas welding.
The piece bent back on the left is part of the outer wheel housing. It will get bent back down and welded.

Here it has been welded in.
In this view below, I am grinding the welds down. This also gives a better idea of the area where the patch goes. All it needs now is some primer and sealer.

In addition to the trunk floor extension and the spot under the wheel well, another area would need attention before the quarter panel could be welded on. In the door jamb, where the outer and inner quarter panels are welded together, there was a bad spot. Part of it was rust, but part of it was from a poor quality previous repair. You can see on the curved piece that there is a lot of rust and holes. This would not be secure enough to weld the new quarter panel to.


Here it is looking from the inside.

It was critical that this area be strengthened because this car is a convertible. Normally the roof is a structural part of the car. On a convertible the entire load is carried through the floor.
With this area reinforced, the wheel housing all welded in, the trunk floor extension taken care of, and the hole in front of the tire covered up, the only thing left to do is hang that quarter panel. That is always a warm fuzzy because it goes from looking like a pile of parts to looking like a car again.
To view the next page, click here .
No comments:
Post a Comment