Below is a view of what will be the inside of the central section of the trunk floor. You can see where I have drilled holes and ground away the primer around them. This is so I can weld the supports for the fuel tank in place. The straps, that literally hold the tank in place, are fastened to these supports. The straps connect at the fore and aft ends of the tank. This is why I have drilled 5 holes at the ends where the supports mount to the underside of the trunk floor.


In the view above the bottom side of the center trunk floor section can be seen. On the right side the fuel tank support is held in place by vise grip clamps, one at the top and one at the bottom. On the other side you can see the holes which will be used to weld through to the other support. The placement of these supports has to be very precise.
Here is a view of the bottom side with both supports welded in place from the other side. The welds have to be first rate! This is what holds the fuel tank in place when you slam on the brakes, or crash into something. You don't want the weight of 15 or 16 gallons of gas being held in place by bad welding.


After grinding down the welds I used a thin coat of plastic filler to fill in the pin holes. This part is ready to weld into place.

Where the trunk floor welds to the frame rails has to be sealed against moisture to prevent rust. Before welding the center section of the floor into place I applied seam sealer to the areas that would be hard to reach afterward.
Here the inside of the right frame rail is seen after sealing with grey sealer.

This is where the trunk floor meets the left floor extension. On the right side the aft end of the left wheel well can be seen.
As you can see, you don't skimp on the sealer. This is a critical step if the new parts are to be protected from rust.
Sometimes even the correct parts don't fit quite right. In the view below I am using a friction jack to spread the lips of the center section so it will line up with the recessed edge on each side.


Here I had to wedge a stick between the trunk floor and the structure above to close up the gap and make a nicer fit.

While I was welding, I installed the lug that holds the jack in place.
The trunk floor is completely welded in place! Yahooooo! Finally!!
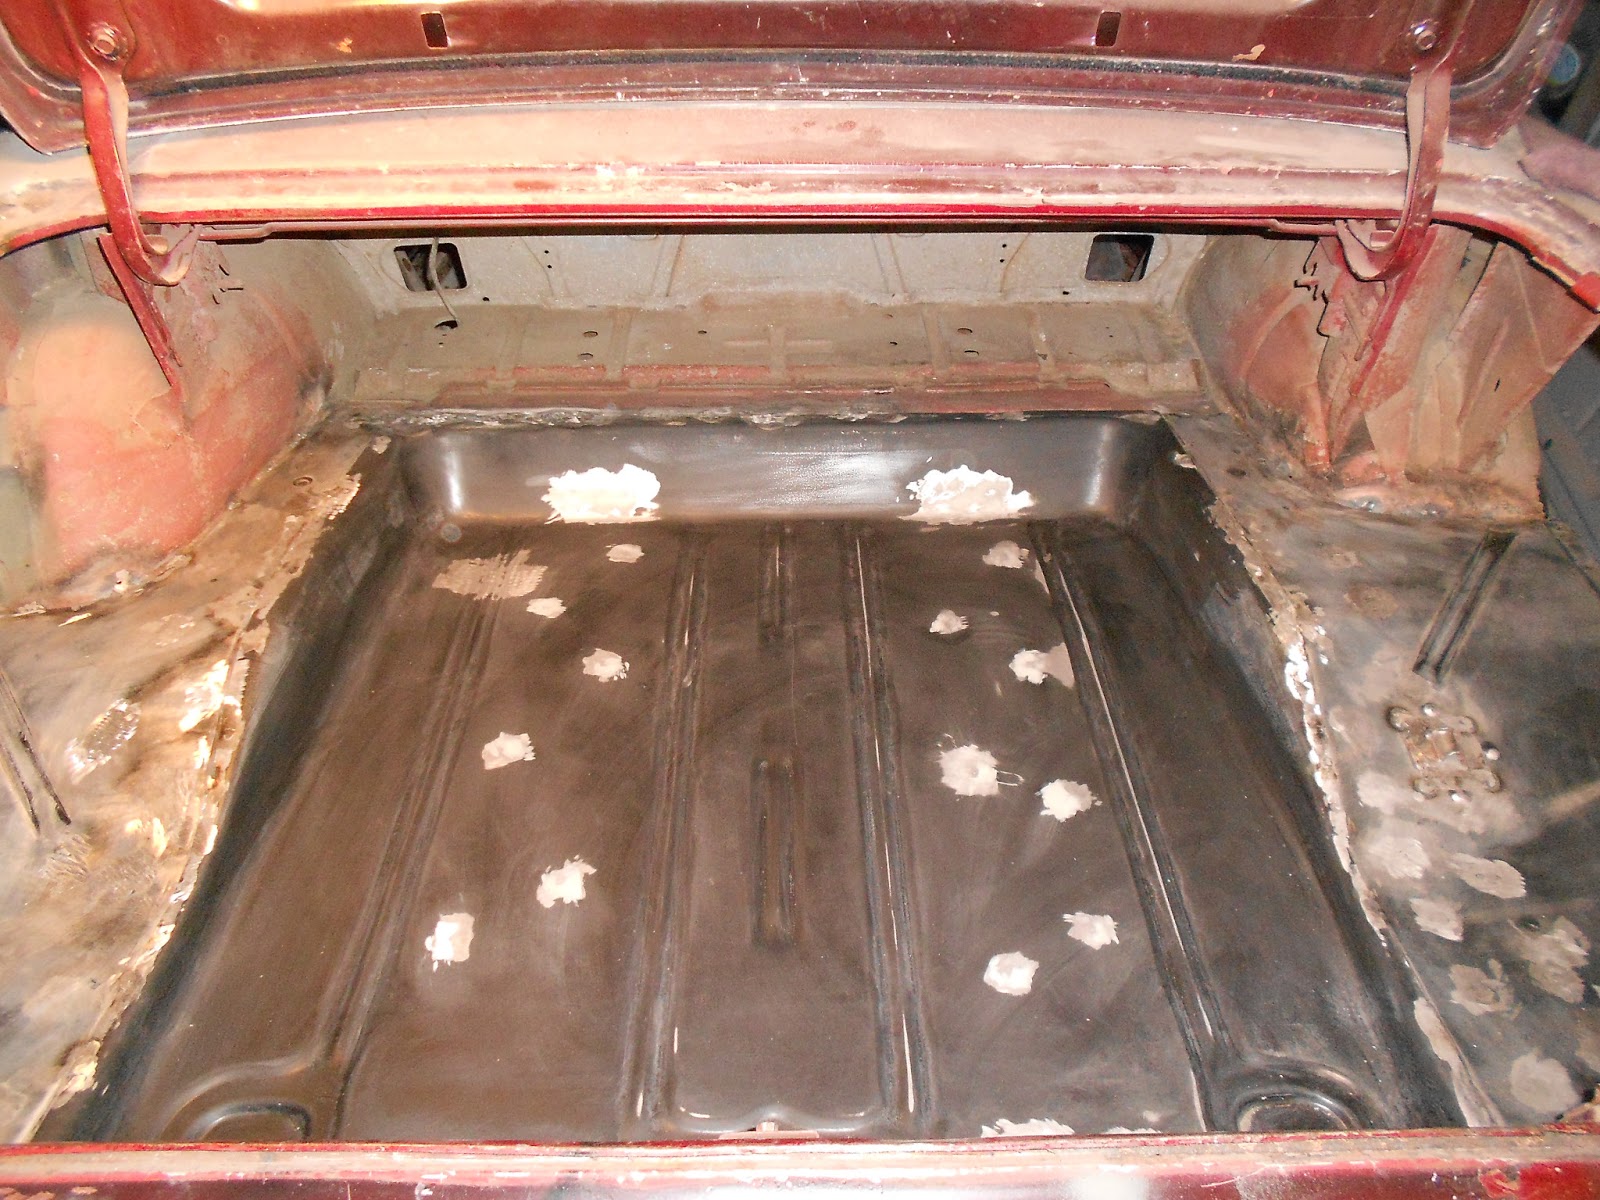

After all the welding is done, each edge has to be sealed up with a special sealer to prevent moisture from getting between the places where the metal overlaps.

The sealer is similar to caulk that you would use around your bathtub. But it is a specially made formula, made just for the automotive market. It is much more flexible and does not harden over time.
Even with doing what I thought were all the hard to reach spots before welding the center section in, there were still plenty of hard to reach places. I used a trimmed down paint stick to help.

In this view the front of the car is toward the top. The left frame rail can be seen vertically through the center. The right wheel housing is at the upper left. You can see the sealer along all of the seams. One tube was grey, the other was white.
Here is the inside with a thin coat of primer. All of the seams still need to be sealed and then re-primed, but this part is pretty much done.

Next up will be the engine compartment. Check back in a week or so and I will have more on that.
To view the next page, click here .
No comments:
Post a Comment