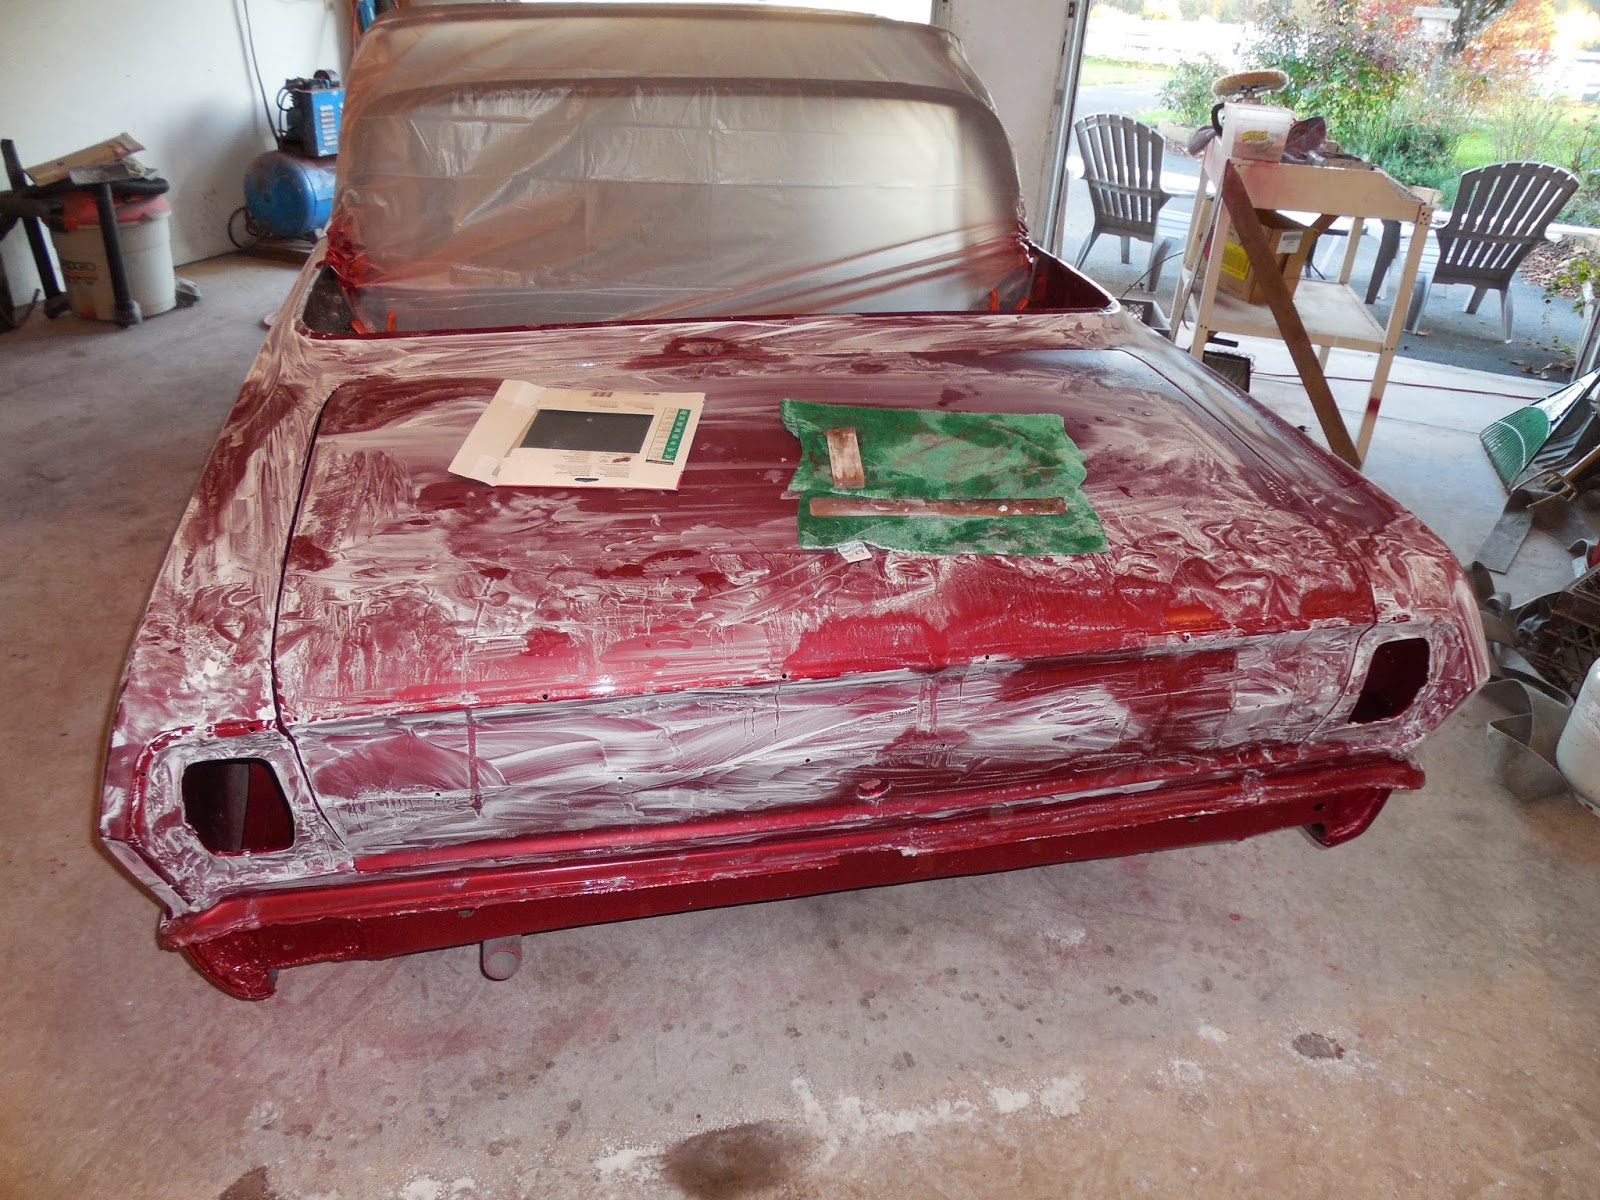
In the photo below the clear has been sanded. The residue is white because of the fine particles of clear removed by the fine sandpaper. The door has been sanded, but is still wet. The quarter panel is still shinny because it has not been sanded yet. The smudge looking area on the fender is where I used the squeege to wipe the residue away while it was still wet. I do this to check to make sure the paint has been sanded smooth.

Here the trunk has been sanded. The green towel is to protect the paint from the bottom of the water bucket used for the water sanding.
I was eager to see what the paint was going to look like once it was buffed, so I buffed off a part of the fender below for a sample of how the car was going to look when finished.

Check out the reflection of the photographer!

There are several areas where it will have to be polished by hand. I always try to minimize the hand polishing, but if you try to use the electric buffer in areas with a lot of intricate contours you stand a good chance of buffing through the paint.

The two body contours near the front edge of the fenders is an example of an area where it is best to just take the time to polish it out by hand. It takes a lot of time, but it quicker than repainting the fender.

Also the area where the door handle and lock go is best done by hand. The hardest part was the narrow area just above the hole where the lock cylinder goes.

Here is one of yours truly polishing the right door.
I have left the masking paper on in case I buff through the paint and need to spray on a little more clear. The nice thing about the color coat/clear coat paint system is that you can spot paint an area and blend it in very easily. But you obviously want to avoid having to repaint if you can.

I will post a few more pictures after I have had a chance to go over the car with the Novus polish. After that it will be time to start putting things back together. The first thing I want to do is get the door latches and handles back on. Right now the door will just bang into the door jamb and nick the paint. In the photo above you can see the blue tape. It is holding a rag in place to help absorb the shock of the door closing. This way it won't chip the paint in the door jamb.
Here she is all buffed out in the light of day.


Look at that shine!

It was a huge amount of work,
But I am pleased with the overall paint.
The paint looked really nice in the shop. But in the light of day, WOW! The paint really comes alive in the sunshine. It has tiny little gold flakes in it. In the sunshine they really twinkle and shine. It makes the paint job look like you are looking down on a billion tiny little fires. Now I see why it costs $750.00 a gallon.
Next step is putting all the chrome, lights, handles, windshield, bumpers, and emblems back on.
To view next page click HERE
Hey, After talking to you on the flight from LAX yesterday I had to check out your project. Wow you really got into your Nova. It is coming g to life and you saved it.
ReplyDeleteI am looking forward to seeing it on the road and seeing the top down with the wind in your face.
Love your work. Blog was intriguing.
ReplyDeleteCar's trunk masking, soft paint edge fast and easily and there are many of other uses for tub tape.
ReplyDelete